
I found an amazing idea for a hot air balloon mobile on Etsy but baulked at the idea of spending $70 for something that could obviously be handmade. I did some research through Pinterest and found a DIY blog with the perfect template: www.howjoyfull.com. Joy did a wonderful job making her template and describing the overall process but I had to do a lot of research through YouTube videos to find exactly how to make this, that's why I'm posting it all here. I'm not going to lie to you and tell you that it was easy, or all that cheap, but it sure was fulfilling to make on my own!
These are the supplies that I bought at JoAnn's for a little under $50. I had to buy everything since I've never sewn before but I'm sure your total would be a lot less if you have any of these already on hand. Please disregard the smaller embroidery hoop, I didn't end up using it for this craft.

I downloaded the template from the HowJoyfull website, click on this template PDF to download directly.
I decided to use the size 2 and 3 outlines only. I figured out what color combinations I wanted to use and cut them out by placing the templates over the felt, using the rotary cutting set to cut.
Chevron patterns play a big part in the nursery so I decided to tackle the most complicated balloon first. I figured out how far away I wanted my cuts to be and used the angle lines on my cutting board to trace them out on my template.


Once the cutting was complete, I lined them all up in order. Lookin' good already!

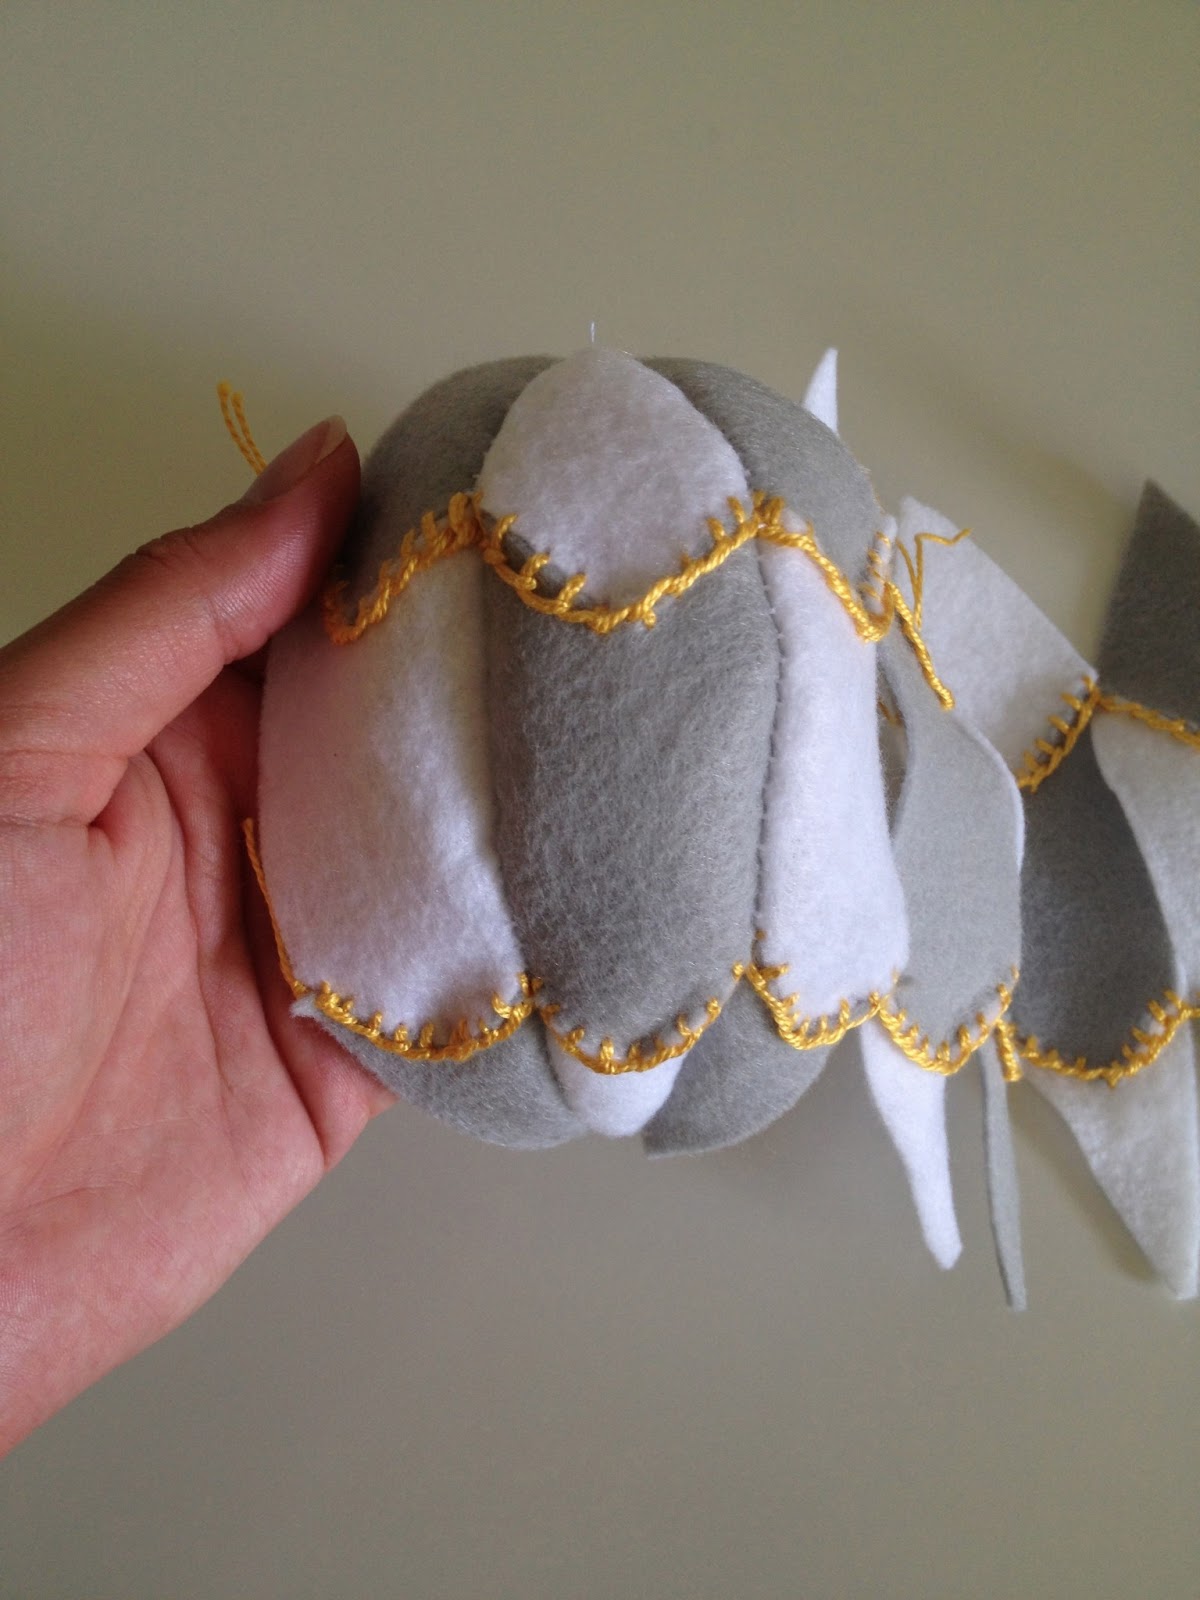
After researching how to sew two pieces of felt together, I decided to use a blanket stitch. I used this video to teach myself, I love that there's no annoying lady describing every detail. Watch and learn!
I did my blanket stitch on a flat surface to that the balloon will take shape properly. By the way, this is the side that will show on the balloon, I made sure no marks were visible.


Tie off the top stitches and then start the same process all over again with the bottom pieces of the balloon. It's getting easier!

Go ahead, take a look at what a cute balloon this will be. It's worth all of this effort!


Cut one of the craft corks in half, this is the perfect size. I then pushed the needle through the cork and pulled it through with pliers.

Voila, a finished balloon!

By the time I made a few balloons, I started getting really good at the flat blanket stitch. It's hard to describe but I started pulling this part tight by hand instead of straight from the needle....


I used a hot glue gun to attach this fun little pom pom ribbon.

I made clouds by freehand cutting and using gray embroidery floss to blanket stitch on the outside. It's still hanging from my ceiling fan as we are not set on the location of the crib but it is something I am really proud of. I will be sure to post pictures of the finished nursery soon!


Oh my goodness, I am so far behind on your blog, I didn't realize you were pregnant-- congrats!!! A little girl too, how sweet :)
ReplyDeleteLove love LOOOOVE the mobile. I am pinning this for (if and) when we have a second child. I have a picture of Curious George in a hot air balloon that I want to have blown up, and this mobile would be perfect.
Congrats again!
LB
Thanks Lizzie! I hope that you do make this mobile for your next baby. Who knows, maybe Hunter would even like a variation of this craft in his room.
ReplyDeleteBest wishes for you and your adorable family!
Erica
Thanks for describing in detail how to get the needle through the cork! I've had Joy's template for years but wasn't having any luck attaching the cork. Will give it a go now!
ReplyDelete